My three June projects are up on the Buzz and Bloom blog! http://buzzandbloom.typepad.com/buzzandbloom/ Buzz and Bloom is located in Australia. They are a wholesale company, so if you see any products you like, please urge your local scrapbook store or local rubber stamp store to contact Helene! Have a great Sunday, everyone! --Keri
Sunday, June 24, 2007
Tuesday, June 19, 2007
A Bit of a Catch Up!!
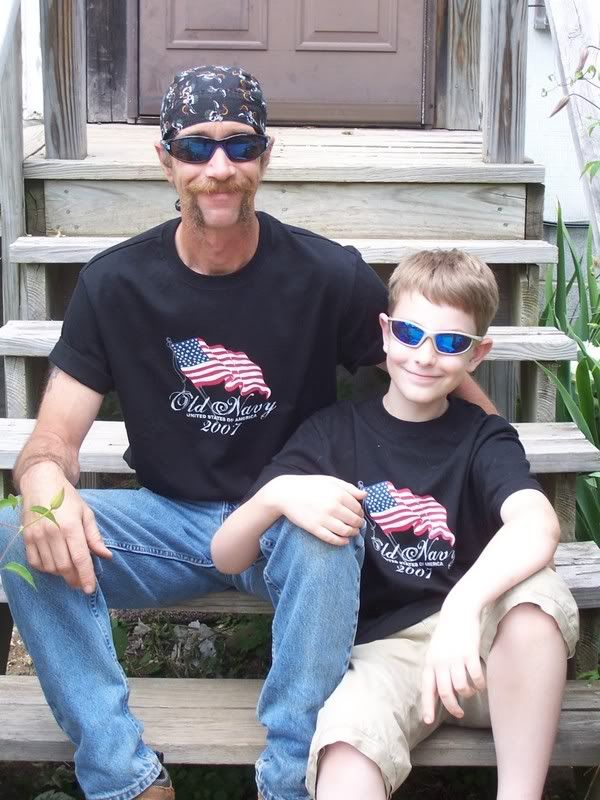
Thought I would catch up this morning--a bit of a hodge podge of stuff I wanted to share--First off, we had a great Father's Day! Nothing to major, just a nice, quiet, laid back day. Here's a shot of Peter and Cody, and one of me and my Daddy on Father's Day. 
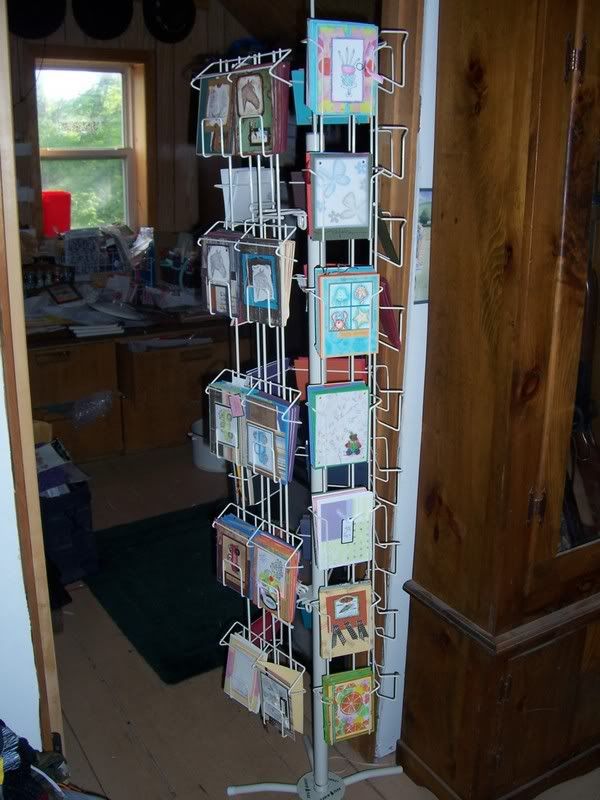
Now-As I had stated on Saturday-we went yard sale hunting. I got the best item! I am still excited about it. I picked up this for my scrapbook room--I think people will enjoy shopping for cards up there now! It is nearly 6 feet tall, rotates, and has 5 sides!!
 This is a sign I made for a bridal shower gift last week. Peter's cousin is gettin' hitched, and they are HUGE horse people. I love how this turned out!
 Have a great day!--Keri
Saturday, June 16, 2007
A couple random thoughts....
We are going yard sale hunting today, so I will leave it at this:
1. When did I go from the person who owes my parents money, to the parent that is owed money by my kid???
2. If I absolutely *LOVE* the new Brad Paisley song "Ticks," exactly HOW redneck does that make me?
3. Some people need to think before they talk!
Happy Saturday, everyone! --Keri
Wednesday, June 13, 2007
More altered notebooks
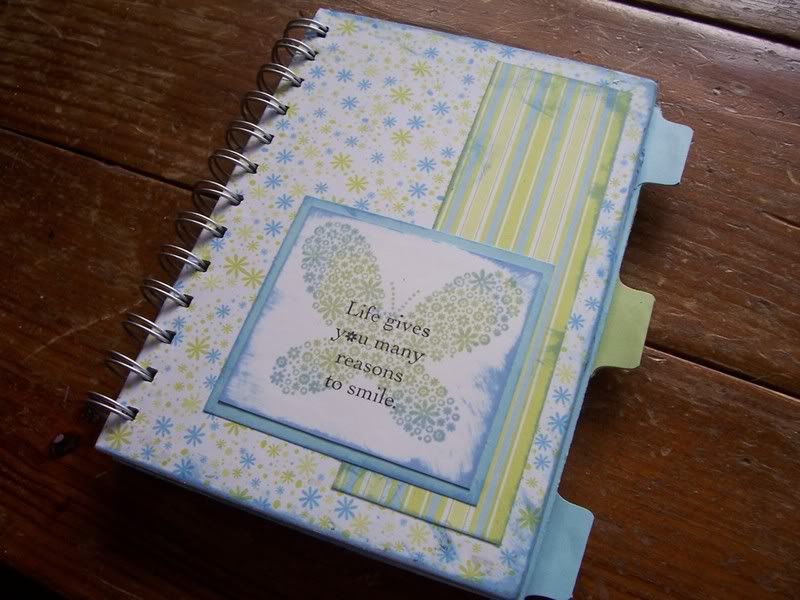
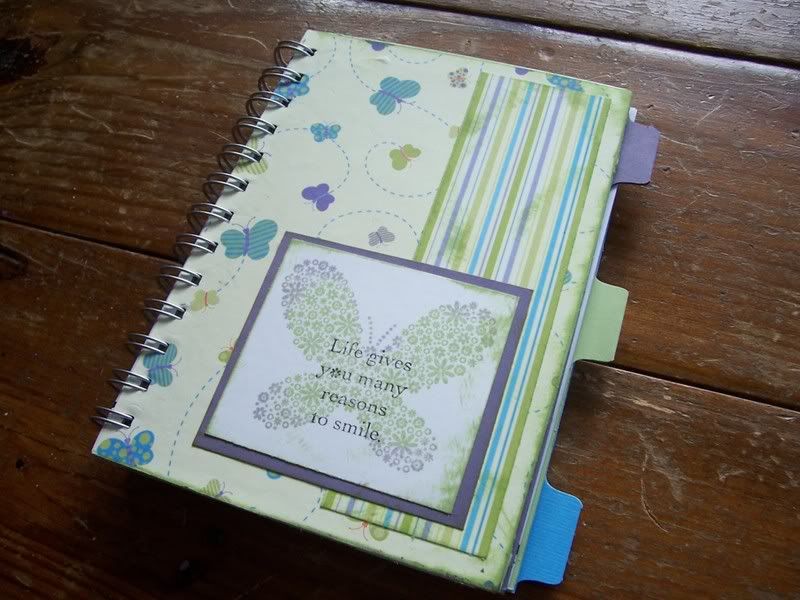
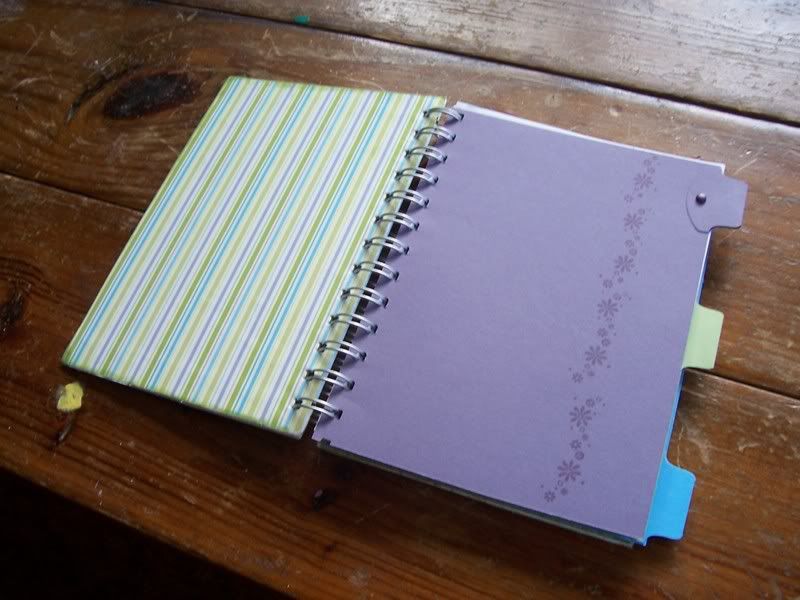
Well, yesterday was the last day of school! Usually it isn't for another week and a half, but with Cody now in the high school building, and the older kids having state exams, he lucked out! He (at the last minute) wanted to give a few of his teachers a little "something" and I happened to have just the idea. I went to Michael's and bought some more of the Mary Engelbreit journals from the dollar spot, and got started! This time, I used patterned paper from the Stack from Joann's. I think it was a Spring Stack, but I can't be sure as I dismantled them long ago. I wanted them to be very simple and general, but also easy for me to pump out 3 in no time at all! They turned out very nice, with hardly a mishap. I used the SU! Stamp set Reason to Smile, and whatever cardstock I could find that coordinated with the patterned paper. I took one photo of the inside so you could see how I lined the inside cover, and stamped a border along the divider. Cody brought his presents to school, and he said his teachers really liked them. One even took the time to write a little thank you note! He said another of them noticed it was hand stamped....he was quite pleased. As a little sidenote** I attempted the rock and roll technique with the butterfly stamp. I don 't know if it looks right, but it does look cool!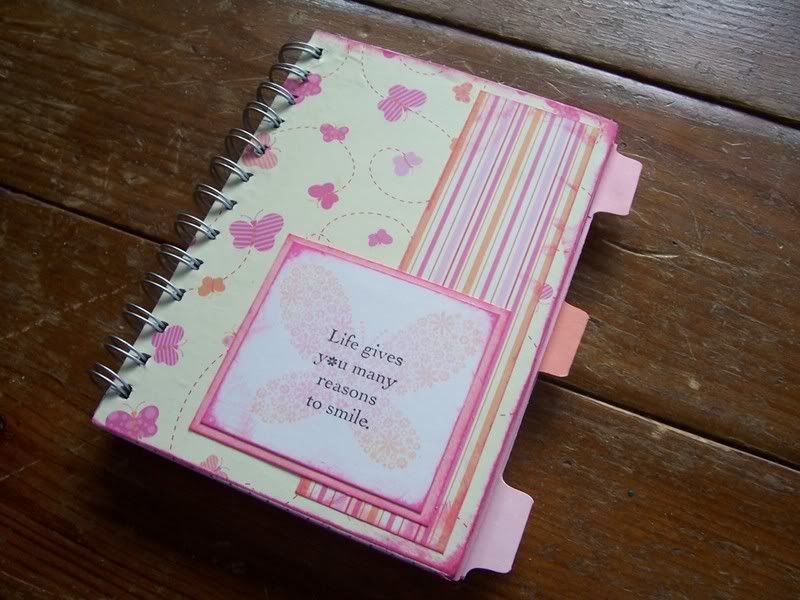
Tuesday, June 12, 2007
Summer Makeover
 Yesterday was the day! A year ago, Cody decided to grow his hair out. You know, the style of many boys these days...they look like Almanzo Wilder or Albert Ingalls from Little Hous on the Prairie...I told him as long as he kept it clean and neat, that he could do what he wanted. I did make him get it trimmed once, and he was not happy with it, so I promised him I would butt out, and he didn't have to get his hair cut ever again, unless it was his idea. WELL, with summer finally arriving here in the Arctic Circle, the heat and the black flies quickly made him change his mind, and want a haircut! Luckily, my best friend owns her own shop, and cuts our hair, so, after 45 grueling minutes of snipping, trimming and clipping, this is what the finished product looks like!

Live, Laugh, Love
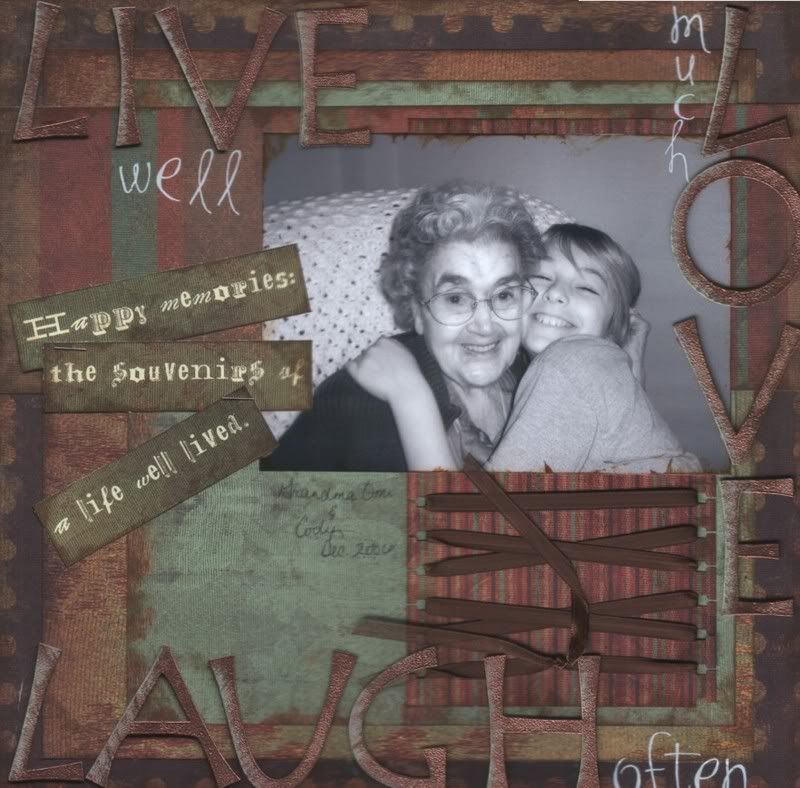
Here is a little something I did for Buzz and Bloom a couple of months ago. I am on their design team, and they have just introduced some fabulous new designs in chipboard. They also have wonderful unmounted rubber stamps, and beautiful acrylic pieces. Go here to see more! www.buzzandbloom.com.au
Monday, June 11, 2007
Our Weekend...
Good Monday morning! I can't believe the weekend is gone already, and these next few weeks are going to be so busy, I don't even want to think about it! Then all the sudden, after the 22nd, everything will be done. School, my daycare until September, and Cody will start swimming lessons for 4 weeks. I am ready for a break, I must admit! Maybe more time to create? There hasn't been much of that lately!
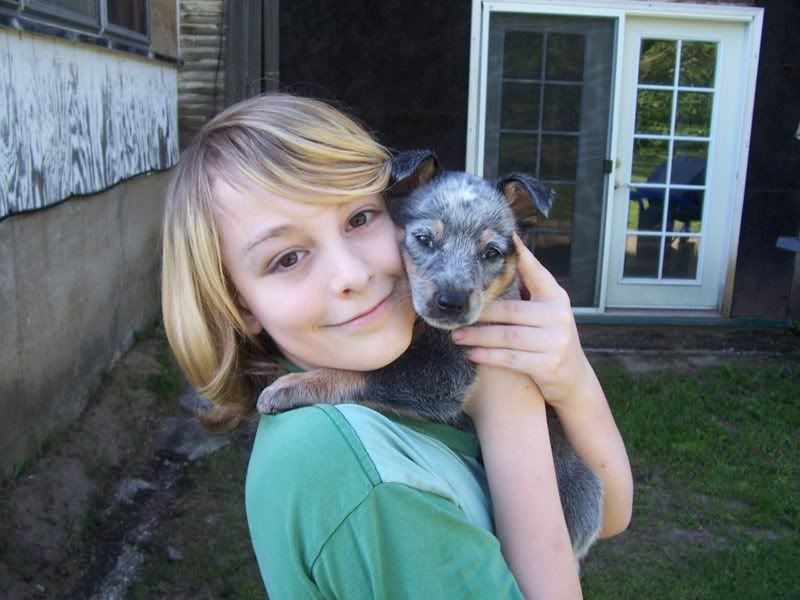
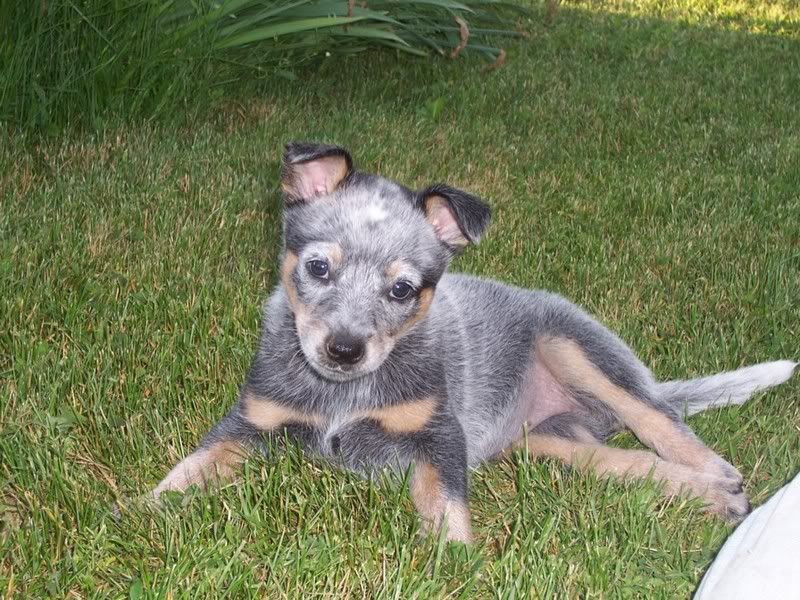
Thursday, June 07, 2007
Father's Day Bottle
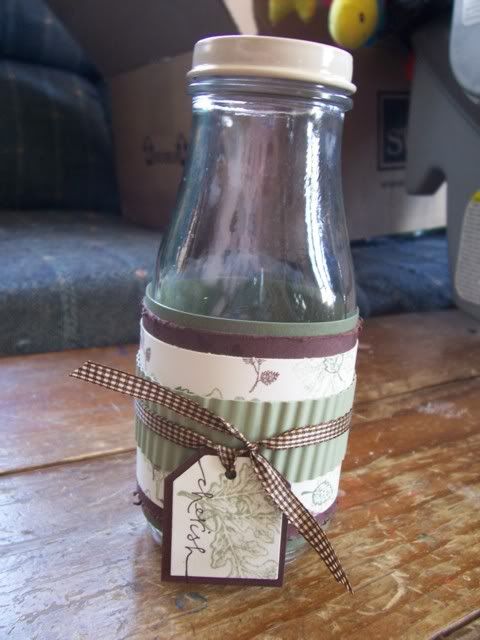 This is a little something I cooked up for a Stamp Camp my cousin did when she was here over Memorial Day weekend. I had the bottles, and she didn't, and she needed an example made, so this is what I came up with. These are the Frap bottles that are Starbucks's brand. I think I am going to fill it with chocolate covered raisins for my father-in-law for Father's Day.
I removed the labels after letting the bottles soak in water for a while, then scrubbed off the excess label glue with an SOS pad. I also spraypainted the lid to cover up the lettering.
I used SU! products for this bottle:
Stamp Sets:
Warm Words
Lovely as a Tree
Cardstock:
Very Vanilla
Chocolate Chip
Mellow Moss
Always Artichoke
Inks:
Chocolate Chip, Mellow Moss, Always Artichoke.
Tools: Paper crimper, small and regular tag punches, 1/8 whole punch, ribbon of your choice, circle punches for top of lid, and Mono Multi Liquid Glue.
* I didn't get a pic of the lid top, but we layered two sizes of circles with leaves stamped on the smaller one, and glued them on the lid. Really made a nice finishing touch.
Tuesday, June 05, 2007
Walk This Way, Baby!
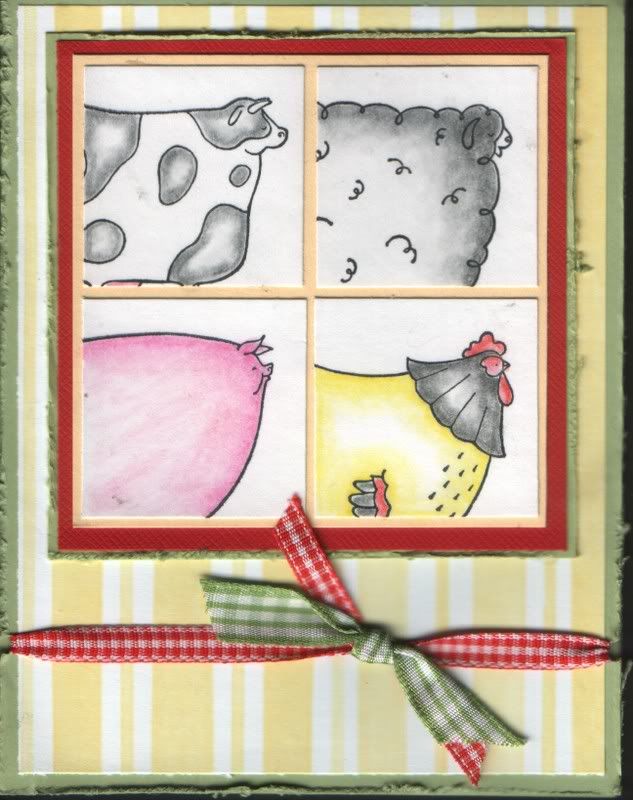 My cousin is having a baby! Like ANY DAY having a baby. We attended her baby shower a couple of weekends ago, and this is what I gave her. She does not know if the baby is a boy or a girl, and the theme she chose was farm animals. I saw some pictures she emailed me of the nursery, and she had painted all the baseboards a beautiful celery green color. This is the card I made for her, using SU!'s Walk This Way stamp set. I used SU! Certainly Celery Cardstock, and Barely Banana Cardstock, along with Doodlebug Red, and a yellow striped patterned paper that I think came out of a DCWV stack. The gingham ribbon came from Michael's. I colored the images using Prismacolor colored pencils and Windsor and Newton Sansador. I made this card a top opening card with notches punched for the ribbon to sit in. I also distressed the edges of the card with my cutter kit from SU!.
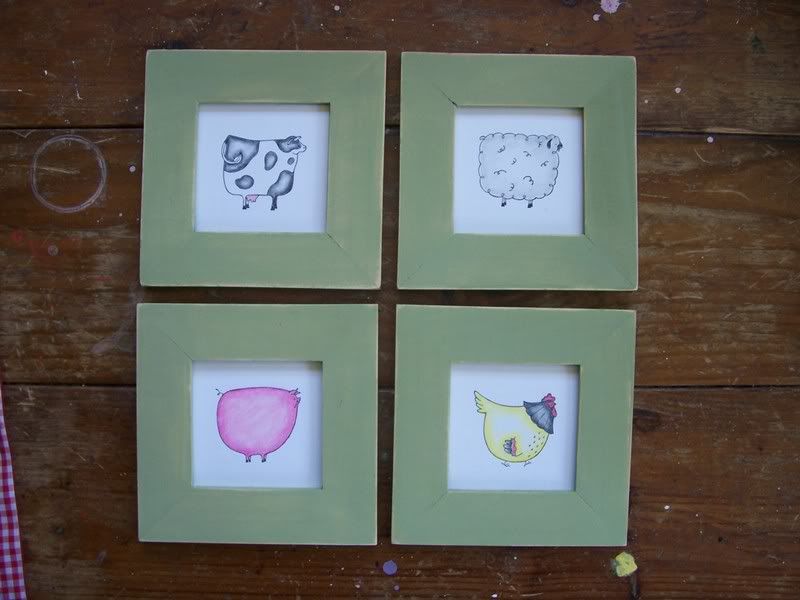 After the paint was dry, I sanded down the frames for a shabby look. I stamped images on heavy white cardstock, and colored them in using the same technique that I used in the card, then added them to the frames. They were so easy to make, cost effective, and turned out adorable to boot! Using these frames, you could paint them any color, and put any kind of stamped image in them. I may do some Tractor Time ones for my kitchen! You could do any number to a set, too, depending on what stamps you use. Next comes the presentation. I didn't want to use any old dollar tree gift bag, I wanted it to be special. I had found these really cool popcorn tins...they were metal with a lid that had a clear window. I think they originally were from Target. I tried to cover the tin with paper, but that proved to be difficult, cause the tin itself was tapered. I decided to
  paint it with acrylic paint, and two coats did the trick. The graphics on the tin were not visible at all! After the paint was dry, I coated it with a coat of acrylic sealer. I then lined the edges with red gingham ribbon. I colored more of the farm animal images and mounted them on the yellow striped paper and red cardstock, and stuck them to the tin using red lined tacky tape. I stuck the frames inside the bucket along with some shredded SU! packing paper and tied it up with a bow. It turned out really cute, and she really liked it! Couldn't ask for more than that!! Have a beautiful day!--Keri
Monday, June 04, 2007
Gone Fishin'
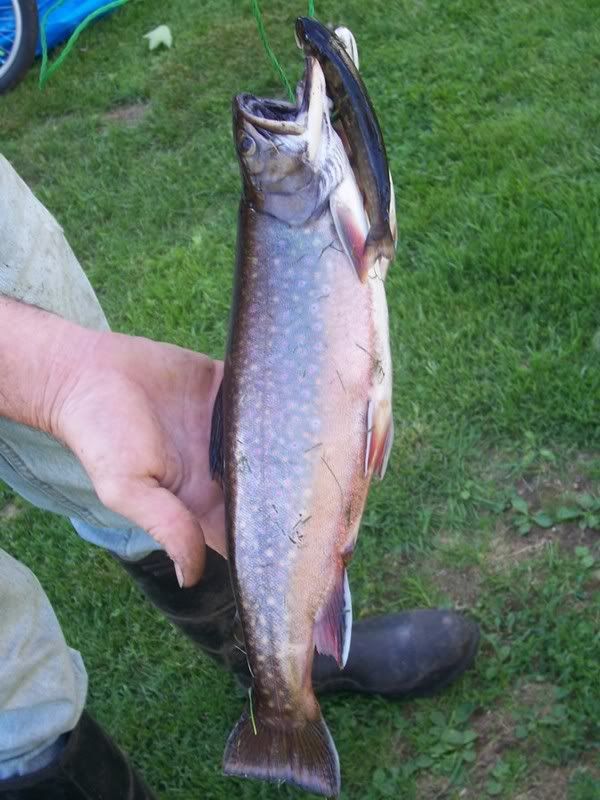
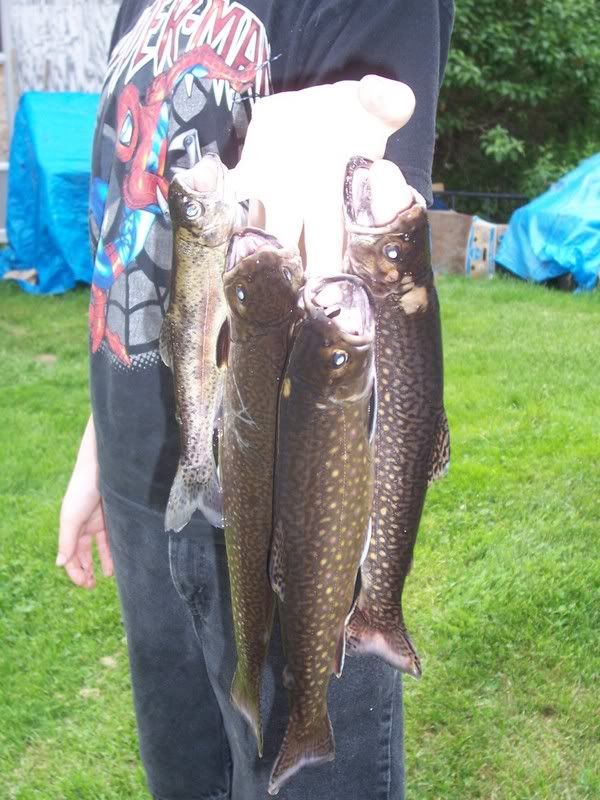
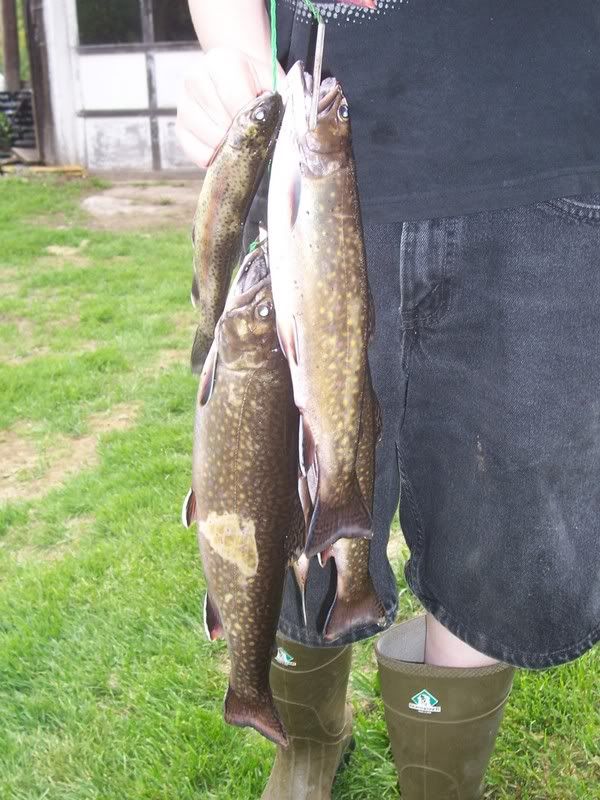
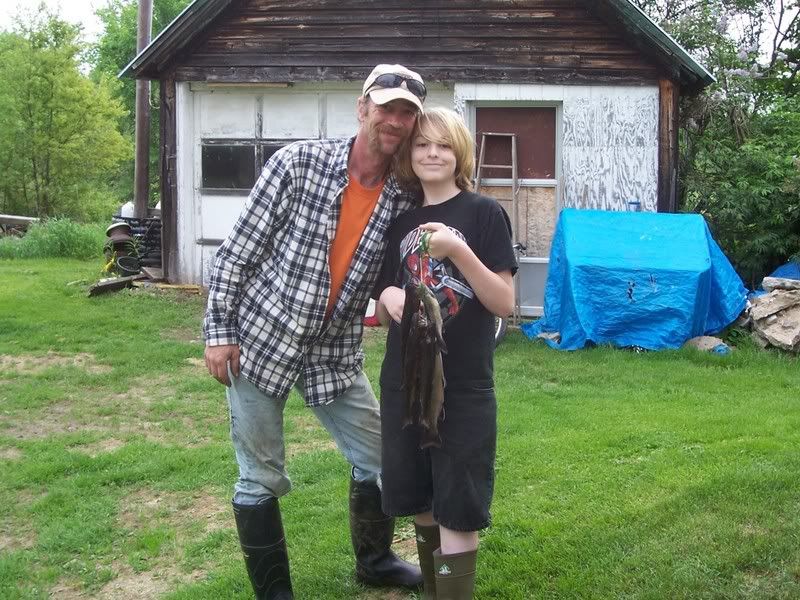 I had a little Mommy time yesterday! Well, it included chasing a puppy, but beggars can't be choosers, right? Peter took Cody fishing in the river behind the house, and they found a "spot." Peter even went so far as to tell Cody to never tell where it is...They were so funny! The fish they caught were unbelievable! I was impressed. I really enjoy having a river behind the house. The view is spectacular, but to think they there were pulling out trout that looked like this? We do live in a wonderful area! Here are a few shots. Have a great Monday, everyone! --Keri
Sunday, June 03, 2007
Altered Spiral Notebooks
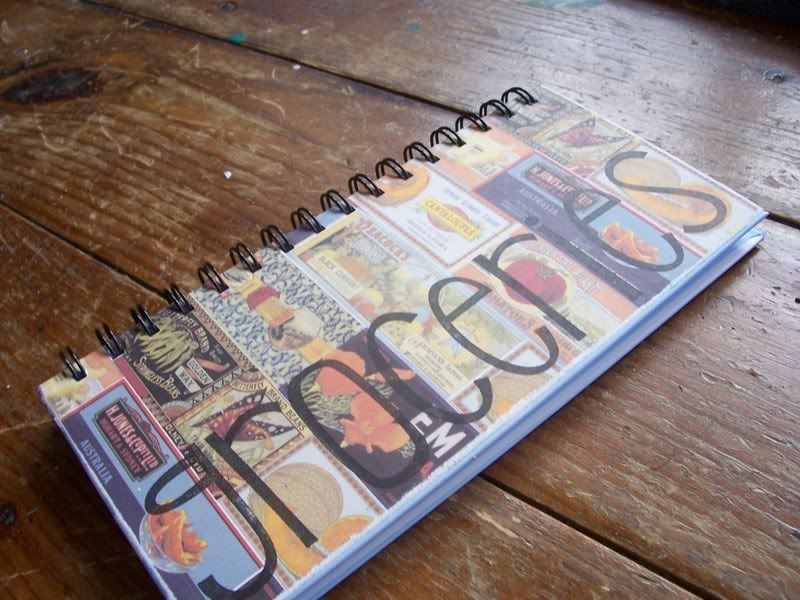
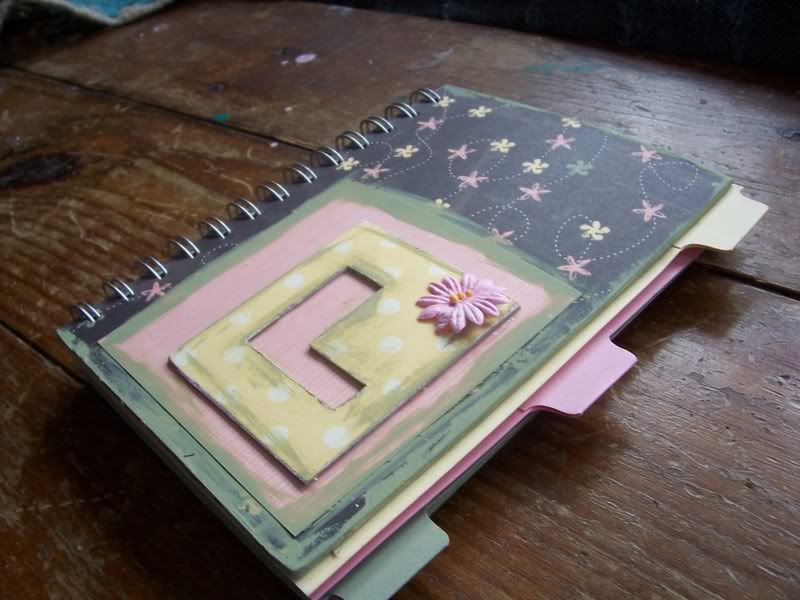 This one I made for my cousin Lauri for her birthday last month. I used the Mary E. 5x7" notebook, and added dividers. The dividers are cut the same size as the cover, and I added an index tab using SU!'s new tab punch. I did the cover the exact same way as the previous notebook, but added a chipboard monogram and a paper flower. I distressed everything with a complimentary color of acrylic paint using a foam brush. I used SU! Patterned Paper, and SU ! cardstock in Pretty in Pink, Mellow Moss, and Barely Banana! The chipboard monogram is from Making Memories.
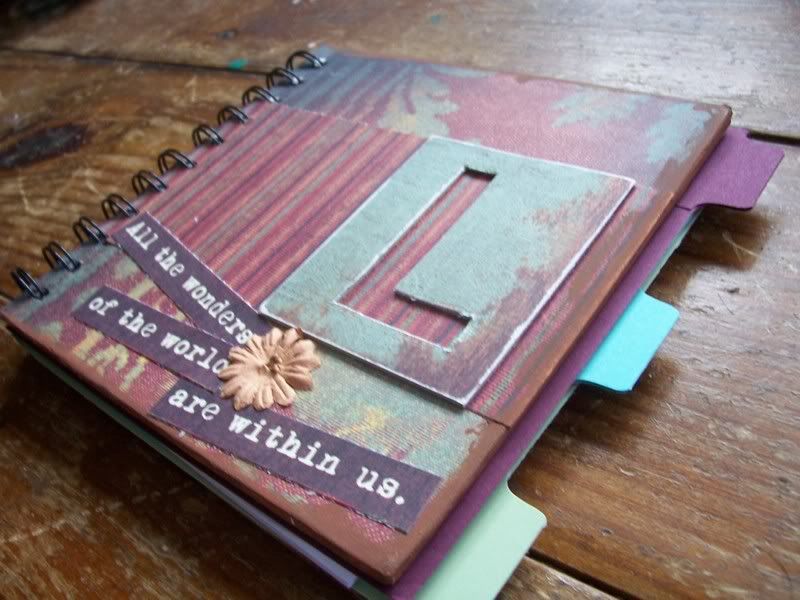 For the last one, which I made my cousin Lisa for her birthday, I used pretty much the same techniques. This notebook is a 6x6. I used Cosmo Cricket Journeys patterned paper, and embellished with a quote, a paper flower, and a chipboard monogram. I did tabbed inserts again, and distressed the notebook with brown acrylic paint. Monogram is from Joann's Essentials.
I am so pleased with how these turned out. They are so much fun to make, and make really great gifts. I am thinking I may make a few for my son's teachers as end of the year teacher presents...better get started! --Keri
_edited-1.jpg)





.jpg)


